The Goal of Sanding
You're trying to do three things: smooth the surface, blend the edges of compound into the drywall, and eliminate any ridges or bumps. You're not trying to sand down to the tape or remove significant amounts of material.
If your mud work is good, sanding is minimal. You're just touching up. If your mud work is rough, sanding becomes a lot more work. The best approach is to get the mud as smooth as possible with the knife, reducing how much sanding you need.
Go easy. It's far easier to sand too much than too little. Sand through the paper facing of the drywall and you've created a problem. Sand just enough to smooth, then stop.
Grit Selection
Drywall sanding uses finer grits than many people expect.
80-100 grit: Only for removing significant high spots or damaged areas. Too coarse for general smoothing.
120 grit: Good starting point for most sanding. Removes imperfections without creating deep scratches.
150 grit: The main finishing grit. Smooths out 120-grit scratches and creates a paint-ready surface.
180-220 grit: For final touch-ups and very smooth finishes. Some people skip straight to paint after 150.
My typical approach is one pass with 120 to knock down any rough spots, then 150 for the final smoothing. I rarely need coarser or finer than that range.
Sanding Tools
Sanding Block or Hand Sander
A rubber sanding block with sandpaper holds flat and prevents gouging. Bare sandpaper in your hand conforms to your fingers and can create uneven pressure.
Hand sanders with hook-and-loop paper make changing grits fast. Worth the investment for anything beyond a small patch job.
Pole Sander
Essential for ceilings and high walls. A flat sanding head on an extension pole lets you reach without a ladder and work at comfortable angles.
The swivel action takes practice. Let the head float on the surface rather than pushing it. Too much pressure causes gouges.
Sanding Sponge
A foam block with abrasive coating. Works great for inside corners where flat sanders don't fit. Also good for curved areas and detailed work.
Comes in different grits like paper. I keep medium and fine sponges in my kit.
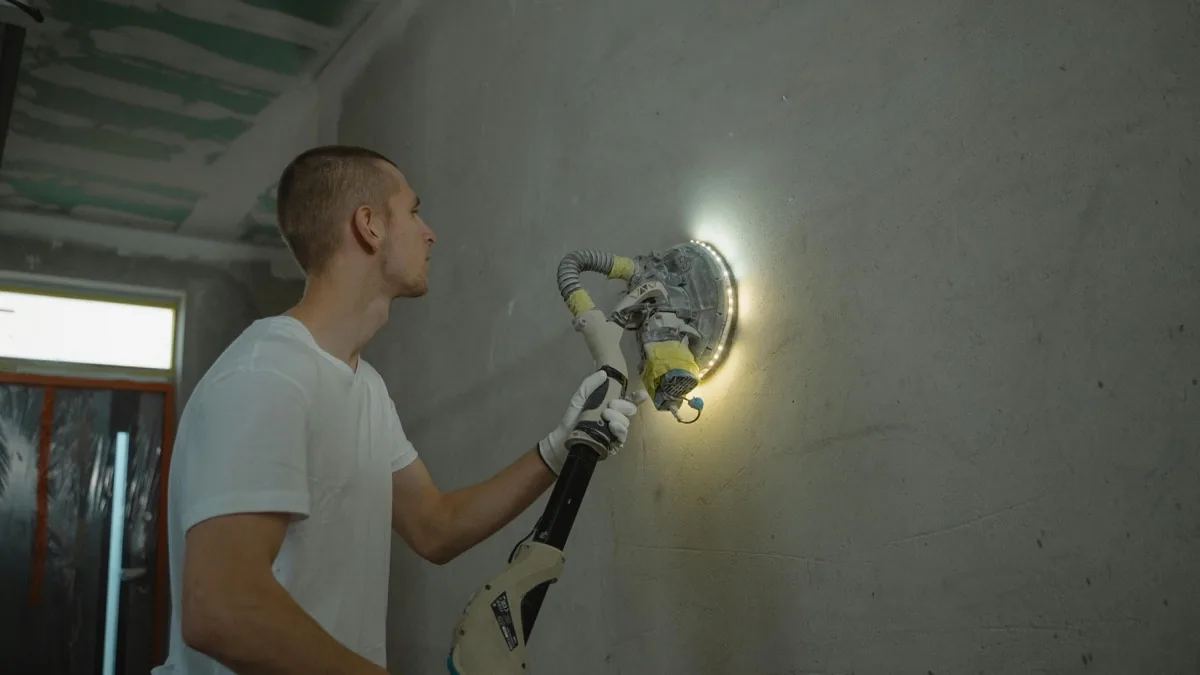
Power Sanders
Drywall-specific power sanders with vacuum attachments exist for large jobs. They're expensive but dramatically reduce time and dust on big projects.
Regular random orbit sanders can work but require very light touch to avoid cutting too fast. I've seen people ruin seams in seconds with aggressive orbital sanders.
Technique
The right technique is counterintuitive if you're used to woodworking.
Light pressure. The weight of the sanding block is almost enough. Adding significant pressure creates gouges and scratches.
Circular or sweeping motions. Not back-and-forth in one spot. Keep moving to avoid concentrating wear.
Feather the edges. Where compound meets bare drywall, you're blending a transition. Sand in the direction that moves from compound onto drywall, feathering the edge smooth.
Check often. Stop and look at your work. Feel it with your palm. Shining a light at a low angle reveals imperfections. It's better to sand a little, check, and sand more than to oversand and have to repair.
Dust Control
Drywall dust is fine, invasive, and a respiratory hazard. Control it.
Wear an N95 respirator at minimum. Drywall dust is silica-containing and shouldn't be inhaled. A paper dust mask is better than nothing but N95 is the right choice.
Seal off the work area if possible. Plastic sheeting over doorways keeps dust from migrating through the house.
Vacuum as you go. Shop vac with fine-dust filter, or connect sanding tools to dust collection. Letting dust accumulate just means more cleanup later.
Wet sanding is an option for small areas. Damp sponge instead of dry paper. No dust at all, but only works for final smoothing, not initial sanding.
I once sanded a room without dust control and found fine white powder on surfaces two rooms away. Never again.
Checking Your Work
Normal room lighting hides imperfections. To really see the surface:
Use a bright work light. LED shop lights are ideal. Position the light at a low angle to the wall so it rakes across the surface. Every bump and ridge casts a shadow.
Move the light around. An imperfection visible from one angle might be invisible from another. Check from multiple positions.
Run your palm across the surface. You can feel things you can't see. Any bump or ridge that you can feel will probably show after painting.
After sanding, wipe with a dry cloth or microfiber. This removes dust so you can really see the surface. Check again after wiping.
Common Sanding Mistakes
What goes wrong:
Sanding too aggressively. More pressure doesn't mean faster progress. It means gouges and scratches that show through paint.
Sanding before mud is fully dry. Soft mud balls up and tears instead of sanding smooth. Let it dry completely.
Sanding through to paper. The paper facing must stay intact. Sand through it and you've created a repair job.
Using too-coarse grit. 80-grit scratches show through paint. Start at 120 or finer for finishing work.
Not checking with light. Finishing in ambient lighting only to see imperfections after painting. Always check with a work light before declaring done.