What Skim Coating Accomplishes
Skim coating applies thin layers of joint compound over an entire surface rather than just over seams and patches. The result is a uniformly smooth wall ready for paint.
Uses include: Covering texture you want to eliminate. Smoothing rough drywall finishing. Creating a Level 5 finish for critical lighting situations. Renewing old walls that have accumulated damage over decades.
It's not a quick fix. Proper skim coating takes multiple coats, sanding between, and significant time investment. But when you want truly smooth walls, there's no shortcut.
Preparing the Surface
Skim coating adheres best to properly prepared surfaces.
For texture: Lightly sand high spots. You're not removing the texture, just knocking down peaks that would show through thin skim coats. Wipe clean of dust.
For damaged drywall: Repair any holes, cracks, or tape failures first. Skim coating won't hide these problems, just highlight them.
For painted surfaces: Lightly sand to give the compound something to grip. Glossy paint especially needs scuffing. Wipe clean.
Prime if needed: Some surfaces benefit from primer before skim coating, especially if you're not sure how the compound will adhere. Test a small area first.
Compound Selection
For skim coating, you want compound that spreads thin and sands easily.
Lightweight all-purpose is my choice. It applies smoothly, dries reasonably fast, and sands without the arm-killing effort of heavier compounds.
Some finishers prefer topping compound for skim coats since it's even lighter and sands even easier. Either works.
Thin the compound slightly with water for skim coating. You want creamy consistency that spreads easily in thin layers. Too thick and you'll leave ridges. Too thin and it runs.
Setting compound can work for the first skim coat if you need speed, but it's harder to sand. I'd reserve it for situations where time matters more than easy finishing.
Application Technique
The technique is applying thin layers and removing excess in one motion.
First Coat
Load your knife or trowel with compound. Apply to the wall in a smooth stroke, spreading thin. Then immediately go back over it, holding the knife at a high angle to scrape off excess.
You're leaving a thin, consistent layer that fills low spots and covers texture. The goal is even coverage, not heavy buildup.
Work in sections. Keep a wet edge where possible to blend sections together. Don't overwork areas that are already coated.
Drying and Light Sanding
Let the first coat dry completely. Overnight for air-dry compounds. Then lightly sand to knock down any ridges or high spots. Not aggressive sanding, just smoothing.
Wipe dust off before the next coat.
Second Coat
Apply the same way as the first coat, but going in a perpendicular direction. If you applied the first coat with horizontal strokes, do the second coat vertical. This cross-hatching helps fill any linear imperfections from the first coat.
Let dry and light sand again.
Third Coat If Needed
Check with a work light at a low angle. If imperfections remain, apply a third coat. For heavily textured walls or damaged surfaces, three coats is common.
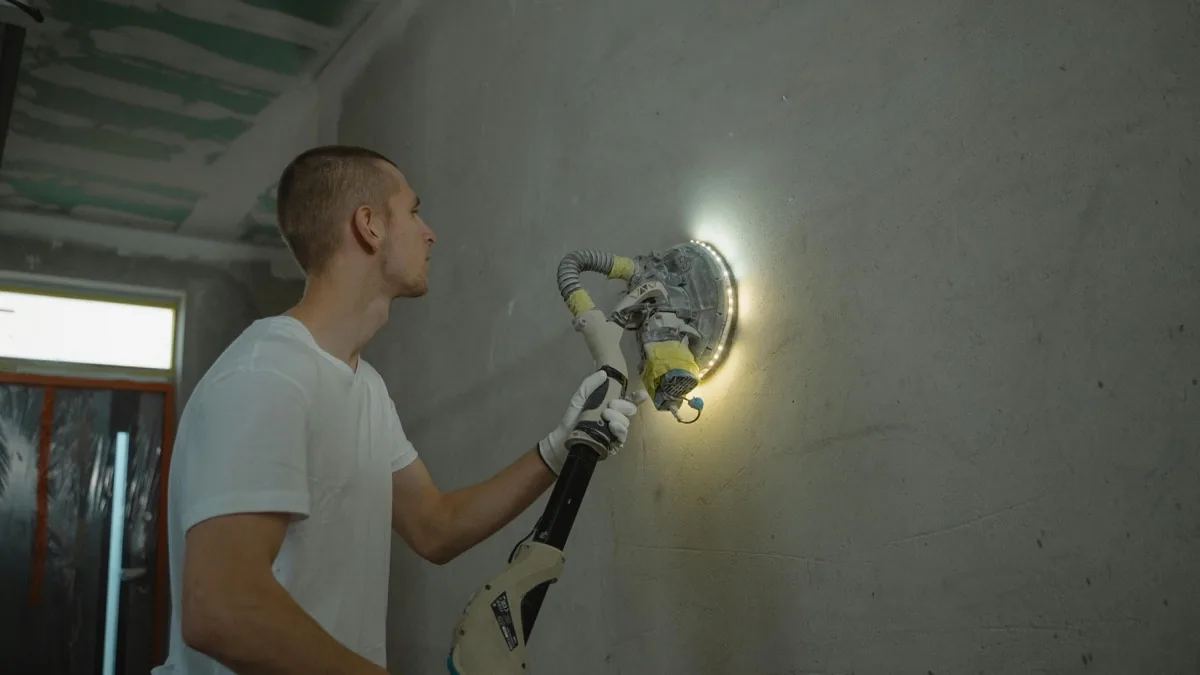
Tools for Skim Coating
Wide knives work for small areas. 12-inch knife minimum, 14-inch better. The wider the knife, the smoother the finish and fewer passes needed.
Magic trowels are curved tools that make skim coating faster. The curve applies compound in a thin, consistent layer as you draw it across the wall. Many finishers swear by them.
Mud pan holds compound while you work. Load from the pan, apply to wall, clean knife edge on the pan lip. The rhythm becomes natural.
Pole sanders make sanding large areas faster. Essential for ceilings where reaching is otherwise exhausting.
Covering Heavy Texture
Heavily textured walls, like deep knockdown or popcorn, need different preparation.
Knock down the high points first. A wide knife scraped across the surface breaks off peaks. You're not trying to smooth it yet, just reducing the extreme relief.
Prime if the surface seems unstable or if paint chips off during scraping.
Apply a heavier first coat. Heavy texture needs more buildup to fill the valleys. Subsequent coats can be thinner.
Expect three or four coats minimum for heavily textured surfaces. I've done rooms that needed five coats to fully hide deep texture. It's a commitment.
Skim Coating Ceilings
Same technique as walls but more physically demanding. You're working overhead against gravity.
Work in small sections. Fatigue sets in fast when you're reaching up. Better to do a quality job on a small area than rush a large area.
Compound wants to fall. Apply with enough pressure to spread it thin and stick it to the surface. Then scrape off excess immediately.
Stilts help if you're comfortable using them. Otherwise, a scaffold is better than constantly climbing up and down a ladder.
The good news: ceiling imperfections are less visible than wall imperfections since we don't look at ceilings as closely. You can get away with slightly less perfection.