Before You Start: Moisture Testing
Basements are below grade. Water wants in. Before you cover concrete walls with anything, make sure you don't have active moisture problems.
Tape a 2-foot square of plastic to the concrete wall with duct tape, sealing all edges. Leave it for a week. If moisture forms on the plastic when you remove it, you have water coming through the concrete and need to address it before finishing.
Check during wet seasons. A basement that's dry in August might weep water in April. Test during the wettest time of year for your area.
Look for previous water signs. Staining, efflorescence (white mineral deposits), or peeling paint on concrete all indicate moisture history. Past moisture usually means future moisture.
If you have moisture problems, fix them first. Interior drainage systems, exterior waterproofing, or foundation repairs. Covering a wet wall with drywall just creates hidden mold.
Framing Basement Walls
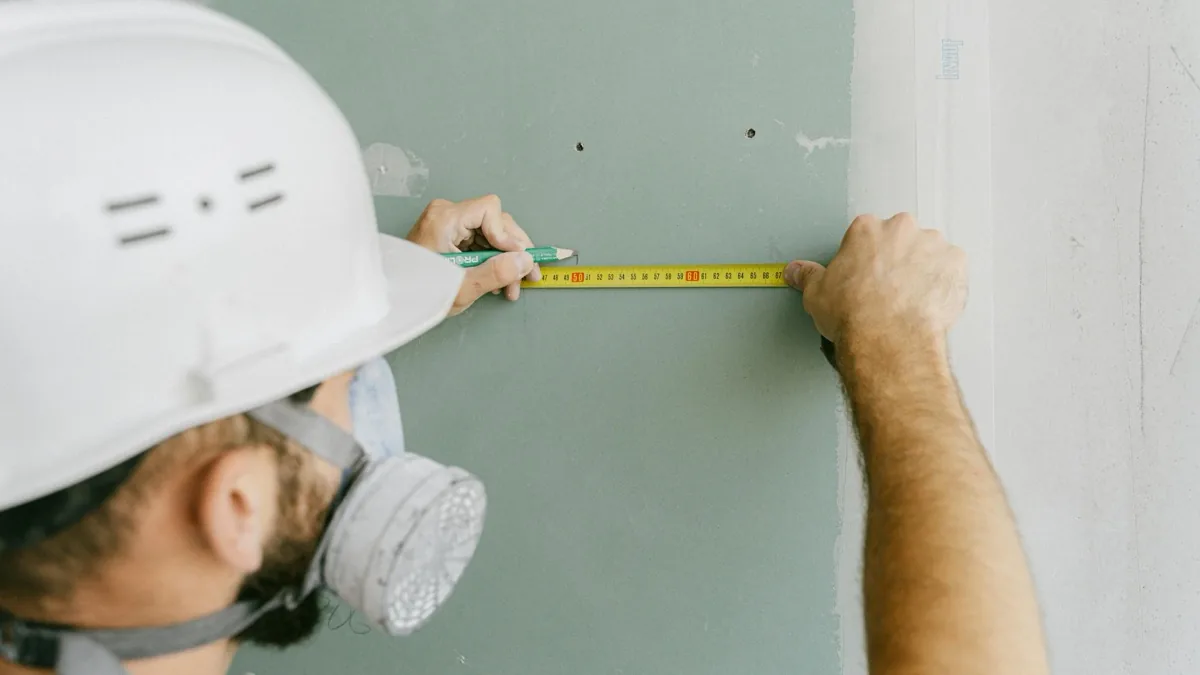
You can't attach drywall directly to concrete. You need stud framing in front of the concrete walls to provide fastening surfaces.
Gap From Concrete
Never frame tight against the concrete. Leave at least 1 inch between the studs and the concrete wall. This air gap allows moisture to evaporate rather than getting trapped against wood.
I framed with the studs about 1.5 inches off the wall, which gave room for insulation and the air gap. Some builders go tighter, but I wanted the buffer.
Bottom Plate Treatment
The bottom plate sits on concrete, which wicks moisture. Use pressure-treated lumber for bottom plates, or install a sill sealer foam strip between the plate and concrete.
Don't use regular lumber for bottom plates. I've seen finished basements where the untreated bottom plate rotted out within five years, requiring expensive repairs.
Ceiling Framing
If you have a drop ceiling, the joists above are your attachment points for grid. If you're drywalling the ceiling, you may need to add strapping below ductwork and obstacles, or fur down around them.
Plan for access to shutoffs and cleanouts. Once drywall covers the ceiling, you can't reach anything up there without cutting holes.
Insulation Choices
What goes between studs matters for both comfort and moisture.
Fiberglass batts: Cheap and easy but not great for basements. Fiberglass can trap moisture against concrete and support mold growth if it gets wet.
Rigid foam against concrete: Better moisture management. Rigid foam boards against the concrete wall before framing provide insulation and act as a vapor barrier. XPS or polyiso work well.
Spray foam: Excellent but expensive. Closed-cell spray foam insulates, air seals, and manages moisture all in one. It was beyond my budget for the whole basement, but I used it in problem areas.
I went with rigid foam against the concrete, then fiberglass between studs. The foam handles moisture at the wall, the fiberglass adds R-value in the cavity. This combination is common and cost-effective.
Drywall Selection
Standard drywall works in basements, but why take the chance? Moisture-resistant or mold-resistant drywall costs slightly more and provides insurance against the inevitable moisture that basements experience.
I used green board throughout our basement. If I did it again, I might upgrade to purple mold-resistant board, especially in the basement bathroom and near the exterior walls where moisture is most likely.
Some builders use paperless drywall in basements. The gypsum core is wrapped in fiberglass instead of paper. Paper is mold food. Fiberglass isn't. It's more expensive and harder to finish but eliminates the mold food entirely.
Whatever you choose, keep the bottom edge off the floor. Half inch minimum, an inch is better. Basements can flood. If water comes in, you want it to go under the drywall, not into it.
Installation Tips
Basement drywall installation is similar to above-grade work with some additions:
Start ceilings before walls, just like always. In basements, this is especially important because ceiling heights are often tight. You want the wall sheets supporting the ceiling edges.
Plan around obstacles. Basement ceilings have ducts, pipes, beams, and bulkheads. Work out how you'll handle these before you start. Drywall can wrap around many obstacles, but some need access panels or framed-out bulkheads.
Watch for electrical and plumbing in floor joists. Everything runs through open joist bays before the basement is finished. Know where your utilities are before you start drilling and screwing.
Use more screws. In humid environments, the slight expansion and contraction of drywall over time is more pronounced. Extra fasteners help prevent nail pops and edge separation.
Common Basement Mistakes
Mistakes I made or saw others make:
Skipping moisture testing. One neighbor finished his basement and had to tear it all out two years later when water started coming through during heavy rains. Test before you build.
Drywall touching concrete floor. Water wicks up through the edge and rots the bottom of the sheet. The mold patch I mentioned is exactly this mistake, where I got careless in one corner.
No access panels. My basement has a cleanout for the main drain. I almost drywalled over it. Caught it before finishing and installed an access panel. Otherwise I'd have been cutting a hole the first time the drain clogged.
Ignoring radon. Finishing a basement can change radon dynamics. Test before finishing, install mitigation if needed, and build in a way that allows future mitigation if levels change.