Planning Your Layout
Before you pick up a single sheet, think through how everything will fit together. This step saves more time than anything else.
Measure your walls and ceiling. Sketch it out if that helps you visualize. The goal is to minimize seams and avoid having seams land in problematic spots like corners of windows or doors where cracks will eventually appear.
Sheets come in 4x8 and 4x12 primarily. Longer sheets mean fewer seams but are heavier and harder to handle solo. I use 4x8 for ceilings when working alone and 4x12 for walls when I have help.
Plan to stagger your seams. Every other row should start with a different length sheet so that vertical seams don't line up. When seams line up continuously, you get a visible joint even after taping. Staggered seams hide better.
Most importantly, never let four corners meet at one point. That creates a weak spot that's nearly impossible to tape invisibly. If your layout creates a four-corner junction, adjust your sheet sizes to avoid it.
Ceilings First, Always
The sequence matters. Ceiling sheets go up first, then walls. When the wall sheets go up, they support the edges of the ceiling sheets. If you do walls first, your ceiling sheets have nothing to rest on at the perimeter.
Ceilings are also the hardest part. You want them done while you're fresh, not exhausted from walls. And any mistakes on the ceiling show less because they're above eye level.
Run ceiling sheets perpendicular to the joists. This gives you more fastening points and stronger attachment. Each sheet should span multiple joists rather than running along one joist.
Overhead work is brutal without help. A drywall lift is almost essential for ceilings. You can rent one for about $40/day. I bought a used one after my second project for $150 and it's paid for itself many times over.
Wall Installation
Most professionals hang drywall horizontally on walls, not vertically. Horizontal installation means the long seams run horizontally across the wall, typically at about 4 feet high.
Why Horizontal
Horizontal joints are stronger than vertical ones because they span more studs. A horizontal joint might cross 8 or 10 studs. A vertical joint relies on one stud.
Horizontal installation also puts the seams at a height where they're easier to tape. Waist height is comfortable to work at. Vertical seams require reaching down to the floor and up to the ceiling.
The exception is very tall walls where you'd need to cut sheets anyway. For standard 8-foot walls, horizontal is the way to go.
Top Sheet First
Hang the top row of sheets first, tight to the ceiling. The bottom row goes up second, with any gap hidden at the floor where baseboard will cover it.
Push each sheet firmly against the ceiling before fastening. The wall sheet should support the ceiling sheet edge. If there's a gap at the ceiling, you've made more taping work for yourself.
Lifting the Bottom Sheet
The bottom sheet needs to be lifted about half an inch off the floor to account for minor height variations and to keep drywall out of any floor moisture. A drywall foot lifter makes this easy. It's a lever you stand on that lifts the sheet while your hands are free to fasten.
I improvised with a pry bar for years before buying a $10 foot lifter. Wish I'd done it sooner.
Fastening
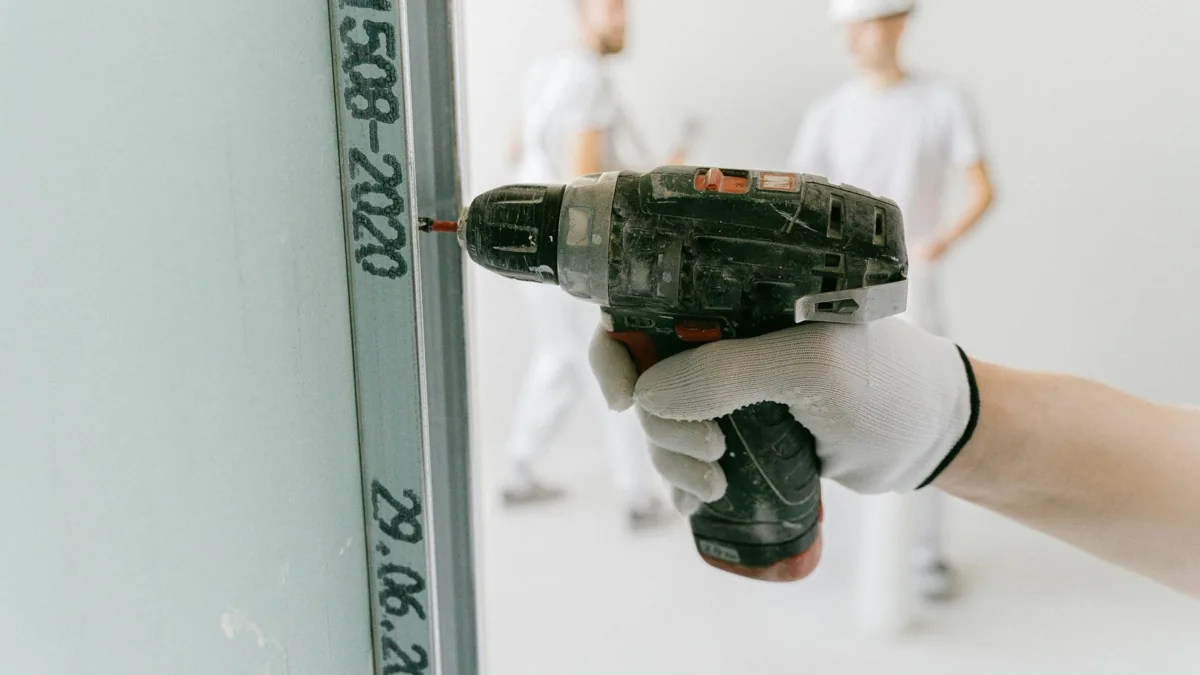
Drywall screws, not nails, for everything. Nails pop, screws don't, or at least not nearly as often.
Use 1-1/4 inch screws for 1/2-inch drywall into wood framing. Longer screws for thicker drywall or when you need to catch framing that's set back.
Screw spacing on ceilings: every 7-8 inches along each joist. Walls can be slightly wider, every 12 inches into studs. Around edges, screws should be about 3/8 inch from the edge of the sheet.
The depth matters a lot. You want the screw head just below the paper surface, creating a dimple that can be filled with mud. But don't break the paper. A broken paper means the screw isn't holding properly. Back it out and drive a new one nearby.
A drywall screw gun with depth adjustment makes this easier. Regular drills work but require more attention to depth. I blew through the paper constantly until I bought a dedicated screw gun with clutch.
Cutting
Basic cuts are easy. Score the paper face with a utility knife, snap the sheet along the score, then cut the back paper to separate. This gives a clean edge faster than any saw.
For outlets and switches, measure the box location, transfer to the sheet, and cut with a drywall saw or rotozip. I measure from the nearest edge and from the floor, transfer those measurements, then cut slightly oversize. You can always trim but you can't add material back.
Corners and odd angles require more careful measurement. Measure multiple points and connect them. I use a T-square for long straight cuts and freehand for curves and angles.
Practice on scrap. Drywall is cheap. Getting comfortable with cutting before you're committed to real sheets saves frustration.
Common First-Timer Mistakes
Everything I did wrong and saw others do wrong:
Forcing sheets into tight spaces. If a sheet doesn't fit, trim it. Forcing breaks edges and creates problems. A 1/8 inch gap at a seam is fine and easier to tape than a crushed edge.
Not checking for square. Nothing in a house is perfectly square. Test fit before fastening. Mark where studs actually are, not where they're supposed to be.
Fastening edges before centers. Start screws in the field of the sheet to secure it to the framing, then work toward edges. Fastening edges first can buckle the sheet.
Overdoing corner bead. You don't need corner bead on every corner. Inside corners use tape. Corner bead is for outside corners only.
Skipping the stud finder. I hung an entire wall once with great confidence, only to realize I'd missed a stud entirely on one row. Had to go back and add fasteners.
Working Solo
Drywall is a two-person job that I regularly do alone. It's possible but requires technique and some equipment.
Drywall lift for ceilings. Non-negotiable for solo work. Even with the lift, ceiling work alone is slow and tiring.
Dead man braces. T-shaped supports made from 2x4s that hold a sheet in position while you fasten. Make them slightly longer than the height you're working with so they wedge tight.
Wall jacks. Like a lift but for walls. Less essential than ceiling lifts but helpful for large sheets.
Patience. Solo work takes longer. Accept that. Rushing leads to dropped sheets, damaged corners, and screws in the wrong places. I can hang a room alone in a day that would take two people half a day. That's the math.