The Drywall Lift Option (And Why I Skipped It)
Uncle Frank, who spent 40 years in construction, told me to rent a drywall lift. "It's like $40 a day," he said. "Don't be an idiot."
I looked it up. The rental place near me wanted $55 a day. Four day minimum. So $220 just for the lift. Plus I'd need to borrow someone's truck to haul it because I drive a Civic. That's another $50 from U-Haul if neighbor Dave wasn't around. And of course the garage only had that weekend free because we were having the in-laws over the next week.
$270 minimum to rent equipment for two days of actual work. For a 12x24 garage ceiling. Twenty-four sheets of drywall.
I did the math wrong, obviously. But in the moment, it felt like overkill.
The Professional Approach
Professionals use panel lifts. They're worth every penny if you're doing multiple rooms. The Harbor Freight version runs about $180 to buy outright, which I should have done. My buddy Carlos, who paints for a living, bought one years ago. Uses it constantly.
"Paid for itself the first job," he told me later. After I'd already destroyed three sheets and given myself that bruise.
The $35 Deadman Brace That Actually Worked
After the disaster, I called Uncle Frank again. He laughed for about thirty seconds, then told me what he used to do on solo jobs before lifts were common.
"Build yourself a deadman," he said. "Two 2x4s in a T shape. Cut it ceiling height plus half an inch."
I drove to Home Depot. Bought two 8-foot 2x4s for $7.48 each. Some 3-inch screws I already had. Drove home, measured my ceiling height (8 feet 2 inches), and built the thing in about twenty minutes.
Total cost: $14.96 for the lumber. I built two of them because I figured more bracing was better. Call it $35 with screws and my time.
How the Deadman Works
You lift one end of the drywall sheet up to the ceiling joists. While holding that end, you wedge the deadman under the other end. The slight extra height creates pressure against the ceiling, holding the sheet in place while you screw it in.
Not gonna lie, the first few times were awkward. But I got the rhythm after about three sheets. Lift, wedge, screw. Move the deadman. Repeat.
Building the Deadman Right
The T needs to be sturdy. I used two 3-inch screws at the joint, plus some wood glue because I had it. The top piece should be about 3 feet wide so it contacts the drywall at two points.
Uncle Frank mentioned wrapping the top in cloth tape so it doesn't scuff the paper face. I used an old t-shirt. Worked fine.
My Actual Process After Learning the Hard Way
Here's what ended up working for my garage ceiling:
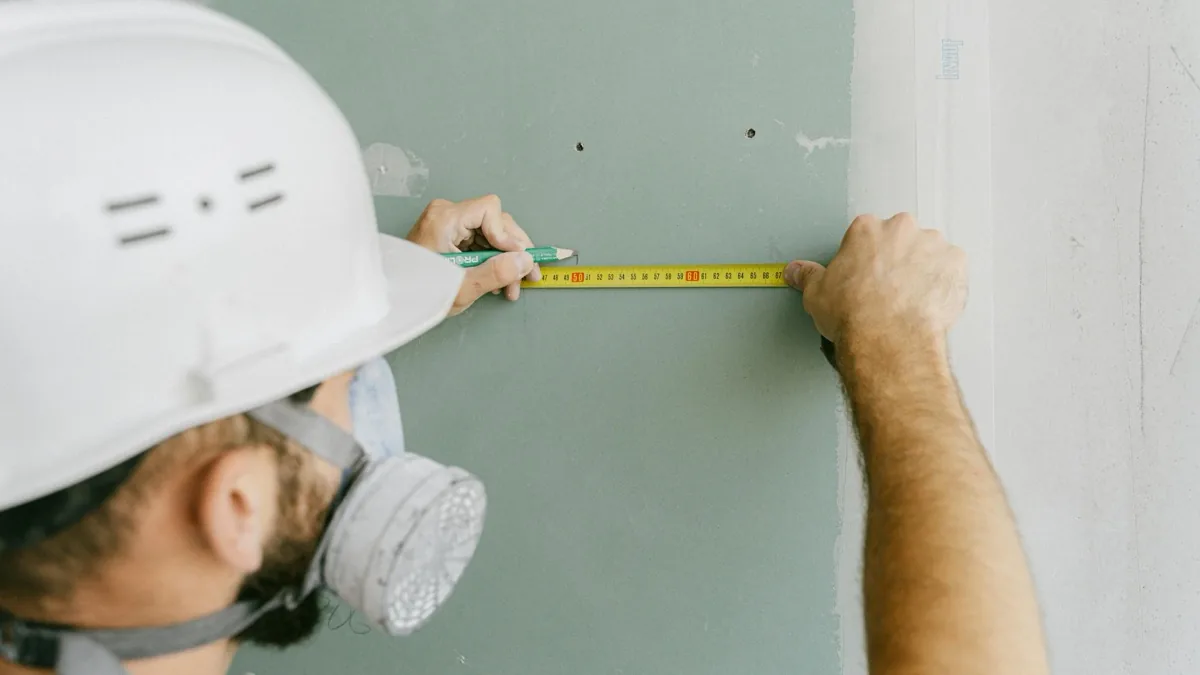
First, I marked all my joist locations on the walls before even touching the drywall. Ran a chalk line. This sounds obvious but I skipped it the first time and spent ten minutes with my drill searching for wood that wasn't there.
Second, I started in the corner farthest from the garage door. Nowhere to go but forward. Third, I lifted one end, got the sheet roughly positioned, wedged the deadman under the other end, and adjusted. Fourth, I drove four screws to hold it, then went back and did the rest.
The whole ceiling took me about 9 hours over two days. A professional crew would've done it in maybe 3 hours. But I saved the labor cost, which would've been around $600 to $800 in my area for a job that size.
The Mistakes I Made (So You Don't Have To)
Besides the obvious "trying to hold a sheet with my head" mistake, I made several others.
Wrong Screw Length
I started with 1-inch screws. Too short. They barely grabbed the joists. Pete at the hardware store had told me to use 1-5/8 inch screws for ceiling work, but I thought I knew better. I didn't.
Ended up going back and replacing about 50 screws. An extra hour of work for being stubborn.
Cutting Before Measuring Outlets
Forgot to measure for the electrical box on the first sheet. Cut it, lifted it, realized there was no hole for the light fixture box. Had to take it back down, measure, and cut. The box ended up slightly off-center because I rushed.
Sarah noticed immediately. Of course she did.
Not Staggering the Seams
First row, I put all the sheets end to end in a straight line. Uncle Frank saw a photo and called me. "You're gonna have cracking," he said. "Stagger your seams like brick." I had to look up what that meant. It means starting every other row with a half sheet so the joints don't line up.
I didn't redo it. Probably should have. We'll see in a few years.
Alternative Solo Methods I've Heard About
Neighbor Dave swears by the "cabinet lift" method. He uses these metal brackets that screw into the wall and hold the drywall in place while you work. They're like $25 for a set of four. I've never tried them, but he's hung three ceilings that way.
Brother-in-law Jeff, during his failed house flip, tried using rope and a pulley system. I don't know the details because he refuses to talk about it, but apparently the drywall ended up in pieces and he had to call a crew anyway. Cost him $1,200 for what should've been a $400 job because they had to clean up his mess first.
There's also the two-deadman method, which is what I eventually switched to. One brace on each end. It's slower to set up but more stable once you've got it.
What I'd Do Differently
Honestly? I'd still do it myself. The $600 to $800 savings was worth the 9 hours of work and the learning curve. But I'd do three things differently.
First, I'd build the deadman braces before buying any drywall. Start with the tools, not the materials. Second, I'd actually measure every single outlet, fixture box, and obstacle before making any cuts. Make a little map. Third, I'd swallow my pride and ask Uncle Frank to come help with the first few sheets, just to get the technique down.
The bruise on my arm healed. The garage ceiling looks fine. Sarah only points out the off-center light box when we have guests over.
Progress.