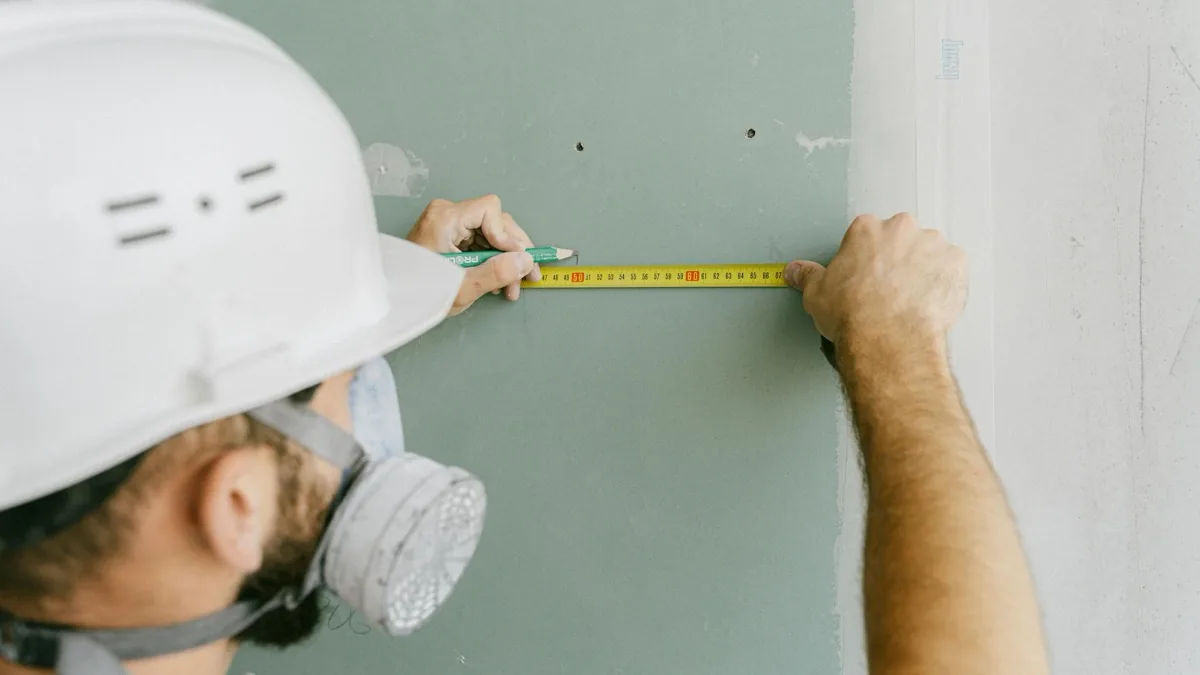
Methods by Hole Size
Pushpin and Small Nail Holes (Under 1/8 Inch)
These barely count as holes. Dab a tiny bit of spackle on your finger, push it into the hole, wipe off the excess. Done. No sanding required for holes this small. The spackle shrinks slightly as it dries but not enough to notice on something this tiny.
Cost per repair: basically free. A $6 tub of spackle will fill hundreds of pushpin holes.
Picture Nail Holes (1/8 to 1/4 Inch)
Standard picture nails leave holes in this range. Use a putty knife or your finger to apply spackle, slightly overfilling the hole. Let it dry, typically 2-4 hours depending on humidity. Light sand with fine-grit sandpaper if needed. Most of the time these don't even need sanding.
Touch up with paint if the wall color is dark or the location is obvious. For white or light walls, the dried spackle often blends in fine without paint.
Small Anchor Holes (1/4 to 1/2 Inch)
Plastic drywall anchors leave holes in this range when removed. These do require actual attention. Fill in two layers: first fill about halfway, let dry, then fill the rest. Single thick applications of spackle crack as they dry.
My neighbor Dave tried to fill an anchor hole with one massive glob of spackle. Cracked right down the middle overnight. Looked worse than the original hole. Two thin coats takes an extra day but actually works.
Spackle vs Joint Compound
For holes under half an inch, spackle works great. It dries faster than joint compound, shrinks less in small applications, and doesn't require mixing. I keep a small container of lightweight spackle in the garage for these quick repairs.
Joint compound is better for anything larger or when you're taping seams. But for small holes, it's overkill. It takes longer to dry and you'll end up sanding more. Pete at the hardware store once watched me grab joint compound for nail holes and said "That's like using a sledgehammer to hang a picture." Fair point.
Self-Adhesive Mesh Patches
These are small mesh patches with sticky backing, usually sold in packs of 6-10 for around $8. You peel, stick over the hole, apply compound over the mesh, and sand smooth when dry.
Honestly? I think they're overpriced for what they do. A half-inch hole doesn't need mesh reinforcement. Just spackle. But if you have them around, they work fine. Uncle Frank calls them "training wheels" but concedes they make beginners feel more confident.
Where mesh patches actually shine is the 1/2 to 2 inch range where spackle alone might not hold but cutting drywall seems excessive. That's their sweet spot.
The Toothpaste Myth
Someone always brings up toothpaste. Yes, in a pinch, white toothpaste can fill a tiny hole and look okay from a distance. No, it's not a real repair. It will crack, turn yellow, and generally look terrible within months.
I've seen this in rentals where tenants tried to hide nail holes before move-out. The landlord can spot toothpaste patches from across the room. If you're that desperate, just buy the $6 spackle. It takes five minutes.
Quick Tips from Experience
- Keep spackle fresh: Store with plastic wrap pressed directly on the surface before putting the lid back. Keeps it from drying out.
- Wet your finger: When smoothing spackle with your finger, a tiny bit of water prevents sticking and gives a smoother finish.
- Don't oversand: On small repairs, you can easily sand through the spackle into the surrounding paper. Light touch.
- Match your sheen: Flat wall paint hides repairs better than satin or semi-gloss. If you have shiny paint, you'll likely need to touch up even small patches.
Related Terms
- Spackle: A ready-mixed filler designed for small holes and surface imperfections. Dries fast, easy to use, sold in small containers.
- Joint compound: Also called mud. Used for taping drywall seams and larger repairs. Sold in buckets and powder form. Takes longer to dry.
- Lightweight spackle: A less dense formulation that shrinks less and sands easier. Slightly more expensive but worth it for most applications.
- Drywall anchor: A plastic or metal insert that provides grip for screws in drywall where there's no stud. Leaves a larger hole when removed.