First Things First: Find the Water Source
This seems obvious but you'd be amazed how many people skip this step. My brother-in-law Jeff, during his house-flipping disaster, repaired a water-stained ceiling three times before figuring out the flashing around a roof vent was bad. Three times. Each repair looked great for about a month until new stains appeared.
Common water sources include leaky pipes, condensation from HVAC equipment, roof leaks, and bathroom moisture that wasn't properly vented. Don't touch the drywall until you've found and fixed the actual problem. Otherwise you're just throwing money away.
If you can't find the source, call a plumber or roofer depending on where the damage is. Spending $150 on a diagnostic visit beats spending $400 on repairs you'll have to do again.
Assessing the Damage
Not all water damage requires replacing the drywall. Sometimes you just need to let it dry and repaint. Other times, the whole section needs to come out.
Minor Damage: Stain Only
If the drywall is still solid when you press on it and there's no mold, you might just have surface staining. Let the area dry completely with fans and dehumidifiers for several days. Prime with a stain-blocking primer like Kilz or Zinsser. Then repaint. Total cost maybe $25-30 in supplies.
I did this on a small stain in our laundry room. The washing machine drain had backed up once, splashed the wall, and left a mark. Three coats of stain-blocking primer, two coats of paint, and you'd never know.
Moderate Damage: Soft or Sagging Drywall
If the drywall is soft, spongy, or sagging, it needs to be cut out and replaced. No way around it. That was my guest bathroom situation. The material had absorbed too much water and lost its structural integrity. Even after drying, it would never be flat or solid again.
Severe Damage: Mold Present
This is where I'd think hard about calling a professional. If you see mold, especially black mold, you're dealing with a health hazard. The affected drywall needs to come out, along with any insulation behind it. The framing needs to be treated. You need proper protective equipment.
Uncle Frank has done mold remediation professionally and won't even do it himself at home. "Not worth the risk," he says. He had his utility room done by a specialist after a water heater leak. Cost him $1,800 but they contained the area, tested for spores, and guaranteed the work. Some things are worth paying for.
DIY Repair Process
Assuming you've got soft drywall but no mold, here's how I approached the repair.
Cut Out the Damaged Section
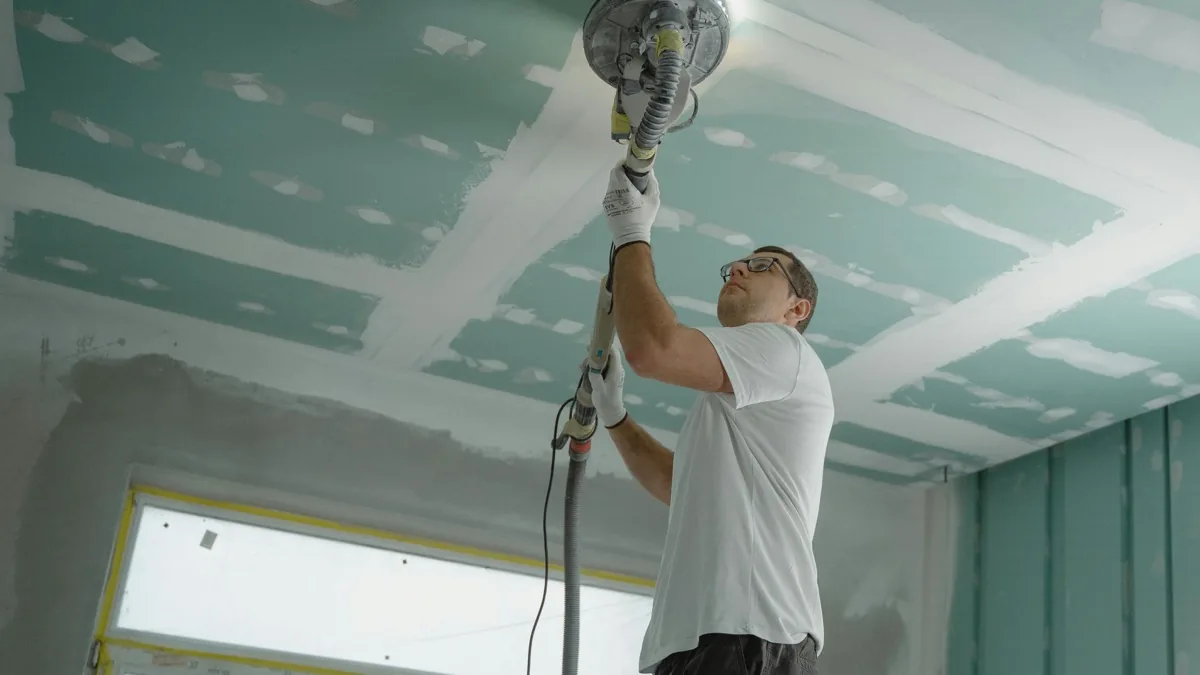
Mark a rectangle around the damaged area, extending to the nearest studs or joists on each side. You want your cut lines to fall on the center of framing so you have something to screw your patch to.
Use a drywall saw to cut along your lines. Go slow, especially on ceilings. You don't want to cut through any wires or pipes hiding back there. I found a junction box in my ceiling that I didn't know existed. Two inches to the left and I'd have hit it.
The damaged piece will probably come out in chunks if it's really water-logged. That's fine. Just get it all out and check the framing behind it. If the wood is damp, point a fan at it for a few days before closing up.
Install Backing and New Drywall
For my repair, the opening was about 16 by 20 inches. I added a backing board on one side where I couldn't reach a joist, then cut a patch piece from a sheet of drywall. The sheet cost me $14 at the hardware store.
Screw the patch into the framing with drywall screws. Sink them slightly below the surface but don't break through the paper. I used about 12 screws for my patch.
Tape, Mud, and Sand
Apply joint tape to all the seams. I use paper tape because Uncle Frank swears by it. Mesh tape is easier but more prone to cracking, according to him. Cover the tape with joint compound, feathering out six to eight inches from the seams.
Let it dry. Apply a second coat. Let it dry. Probably a third coat. Sand between coats with 120-grit paper. Sand the final coat smooth.
This is the tedious part. Each coat needs 24 hours to dry properly. I did my repair across a three-day weekend. Friday evening for cut-out and patch, Saturday for tape and first coat, Sunday for second coat and prime, Monday after work for final coat, Tuesday for paint.
The Real Costs
Here's what my guest bathroom ceiling repair actually cost:
- Sheet of 1/2-inch drywall: $14
- Joint compound (small bucket): $12
- Paper tape: $4
- Drywall screws: already had
- Stain-blocking primer (quart): $18
- Ceiling paint (gallon): $35
- New light fixture cover: $24 (old one was damaged)
- Various sandpaper: $8
Total came to about $115 in materials. Call it $180 when you count the stuff I already had on hand. The quotes I got for having someone else do it ranged from $375 to $520. So I saved maybe $250-350 by doing it myself.
Was it worth it? For me, yes. I had the weekend free and honestly enjoyed the project. But if you're pressed for time or uncomfortable on a ladder, the pro route makes sense.
When to Call a Professional
Some situations really do require calling someone:
- Any sign of mold, especially black mold
- Large areas over about four square feet
- Ceiling damage you can't comfortably reach
- Texture matching on popcorn or heavy knockdown
- Any concern about asbestos (houses built before 1980)
My friend Carlos paints professionally and he won't even touch ceiling texture matching. "I'll paint over someone else's texture patch all day," he says. "But I'm not spraying popcorn. Too messy and too hard to match."
Water damage from roof leaks can also involve more than just drywall. You might have rotted sheathing, damaged rafters, compromised insulation. A good contractor will check all of that. A DIYer might miss it.
Prevention Going Forward
After my repair, I became slightly paranoid about water. Now I check under sinks monthly. I look at ceilings below bathrooms. I know where my main water shutoff is. Sarah jokes that I've become obsessive, but I watched that ceiling stain for months before I noticed it. Months. How long had water been dripping up there? No idea. And that bothers me still.
Install water leak detectors under sinks and near water heaters. They're cheap, like $15 each, and they'll alarm before a small drip becomes a major repair. I put four of them in after the guest bathroom incident. Haven't needed them yet. Hope I never do.