What Sand Texture Is
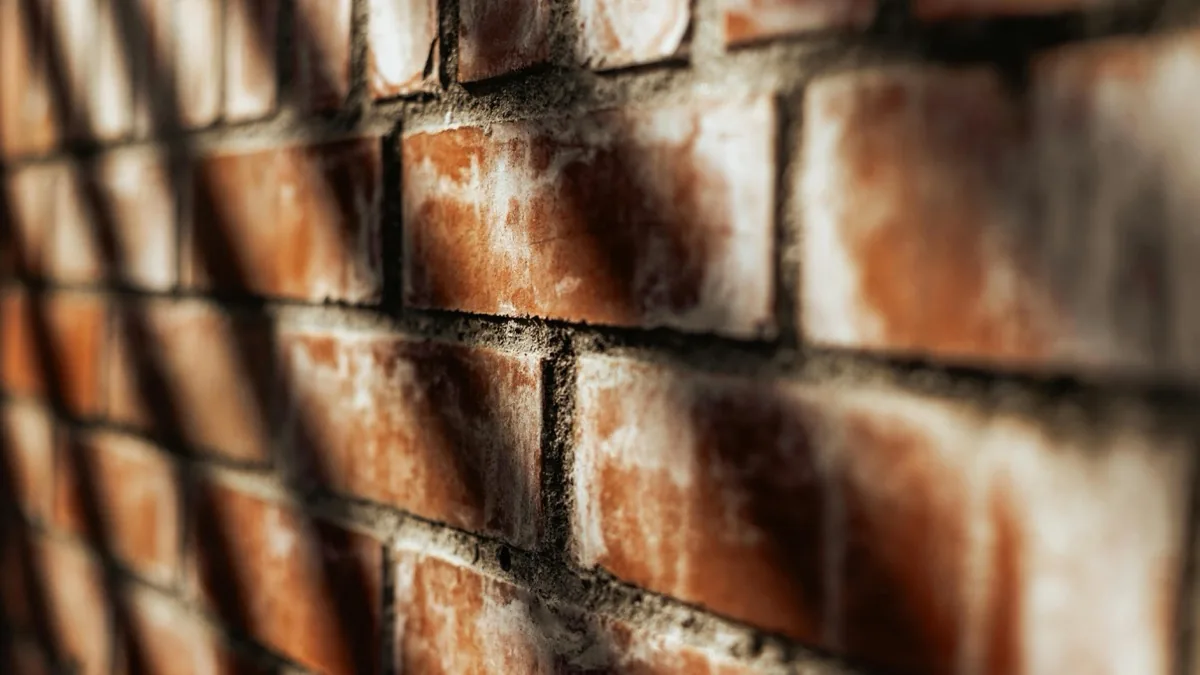
Sand texture incorporates fine silica sand into paint or primer, creating a gritty surface when applied. The result is a slightly rough finish with visible sand particles embedded in the surface.
Different from other textures because the aggregate is visible sand rather than joint compound peaks. The texture comes from the material itself rather than application technique.
Historically popular for ceilings because the matte, gritty surface reduces light reflection. Also used on walls in high-traffic areas where the durability of the sand-reinforced surface is beneficial.
Materials
Sand texture products are available pre-mixed, or you can add sand to regular paint or primer.
Pre-mixed: Products like Homax Sand Texture additive or sand ceiling paint come ready to use. Convenient and consistent.
DIY mixing: Add silica sand to flat paint or primer. About 1 cup of sand per gallon of paint creates light texture. More sand creates heavier texture.
Sand grades: Fine sand creates subtle texture. Coarse sand creates more dramatic texture. Play sand or silica sand from hardware stores works. Don't use beach sand, which contains salt.
Application Methods
Roller Application
Most common for sand texture. Use a thick-nap roller, 3/4 inch or more. The deep nap holds the sand-laden paint and releases it onto the surface.
Stir frequently while applying. Sand settles in the tray. Keep it suspended.
Apply in a W or M pattern for even distribution. Work in sections, maintaining a wet edge.
Brush Application
For small areas or artistic effects. The brush leaves visible stroke patterns in the sand texture.
Use a thick-bristled brush that can hold the heavy mixture. Stipple or stroke depending on desired pattern.
Spray Application
Possible with heavy-duty spray equipment. The sand can clog small nozzles, so large orifices are needed.
Commercial texture sprayers handle sand mixtures better than standard paint sprayers. For DIY, rolling is easier.
Application Tips
Keep stirring. The sand settles constantly. Stir before loading the roller each time.
Don't over-roll. The sand distributes best on the initial pass. Going back over the same area repeatedly can create uneven texture.
Work in sections. Maintain wet edges to avoid visible seams between application areas.
Use appropriate primer or paint. Flat finishes work best. Gloss finishes highlight the sand particles unnaturally.
Plan for coverage. Sand-laden paint covers less area than regular paint. Buy more than you think you need.
Ceiling Application
Ceilings are the most common application for sand texture.
The matte, gritty surface diffuses light rather than reflecting it. In rooms with overhead lighting, this reduces glare and creates a softer light quality.
Work in sections across the ceiling, rolling parallel to the main light source. This minimizes visible seams.
A roller extension pole makes ceiling work much easier than ladder work.
Expect heavier coverage than walls because gravity pulls some sand off before it adheres. Two coats may be needed for consistent coverage.
Pros and Cons
Advantages:
Hides imperfections well. The gritty surface distracts from minor flaws.
Reduces glare. Excellent for ceilings in rooms with bright lighting.
Unique appearance. Different from common textures, can be attractive in the right context.
Durable. The sand-reinforced surface resists scuffs better than plain paint.
Disadvantages:
Hard to clean. The rough surface traps dust and dirt. Scrubbing damages the finish.
Hard to repaint. New paint has to work into all the texture. Recoating takes more paint and effort.
Can look dated. Sand texture peaked in popularity decades ago. May not suit modern aesthetics.
Difficult repairs. Matching sand texture for patches is challenging.